How to Achieve a Salon Blowout at Home (Without Calling for Reinforcements)
We’ve all been there: you’ve booked an appointment at the salon, ready to walk out with hair so flawless, it should come with its own spotlight. But then… the budget says "nope," and you're left staring at your flat hairdryer with a dream. Don't worry, though! With the right products, tools, and a little know-how, you can recreate that salon blowout magic without leaving your bathroom.
Grab your blow dryer, a brush, and let’s dive into this step-by-step guide on how to achieve a salon blowout at home. (P.S., it might not involve an actual blowout from a stylist, but it's close enough, and you’re saving a ton of cash.)
Step 1: Wash Your Hair with the Right Shampoo and Conditioner 🧴
First things first, clean hair is the foundation of any blowout. But not just any shampoo and conditioner combo—you need a moisturizing one to help you lock in the hydration while adding volume and shine.
You want to start with a light, hydrating shampoo that won’t weigh down your strands.
Product to Use:
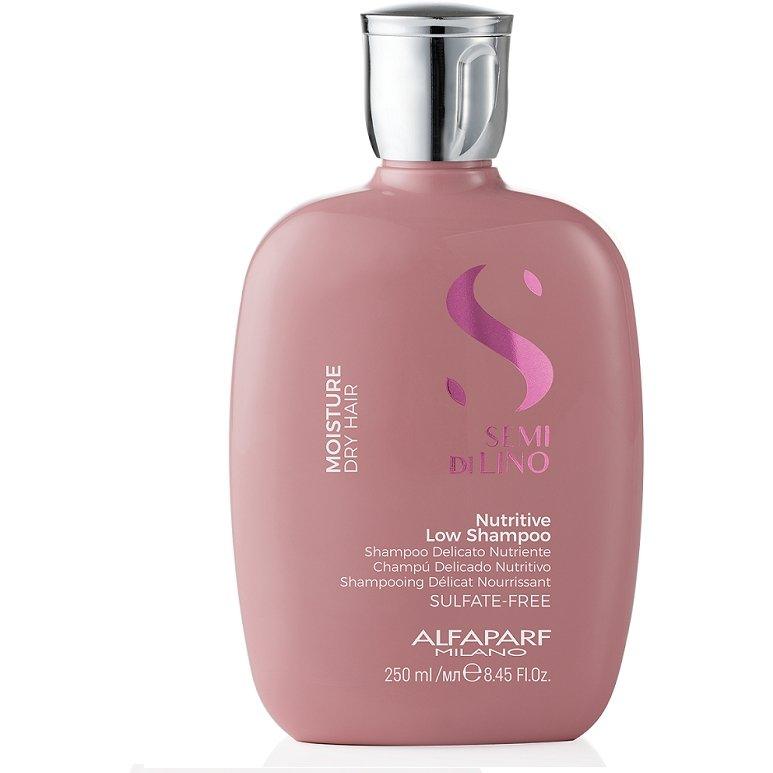
- Alfaparf Milano Semi Di Lino Moisture Nutritive Shampoo – Perfect for boosting moisture while keeping things light and fresh. You’re going for volume, not a greasy pancake look.

Follow that up with a rich, smooth conditioner that nourishes without making your hair too slick to style.
Product to Use:
- Moroccanoil Color Care Conditioner – A restorative conditioner that deeply nourishes while adding a subtle shine for sleekness, making it perfect for a blowout.

Step 2: Apply a Heat Protectant & Volumizing Products 🔥
Now that your hair is clean and nourished, it’s time to protect it from the heat. Blow-drying without a heat protectant is like wearing your favorite sweater in a rainstorm—it’s just asking for trouble.
Next, you want a bit of volume. No one needs flat hair here! You’re going for big hair energy (and we’re all about that).
Products to Use:
- Color Wow Speed Dry Blow Dry Spray – This is a blow-dry cream that helps protect your hair from heat and adds volume, smoothness, and shine, making your blowout last longer.

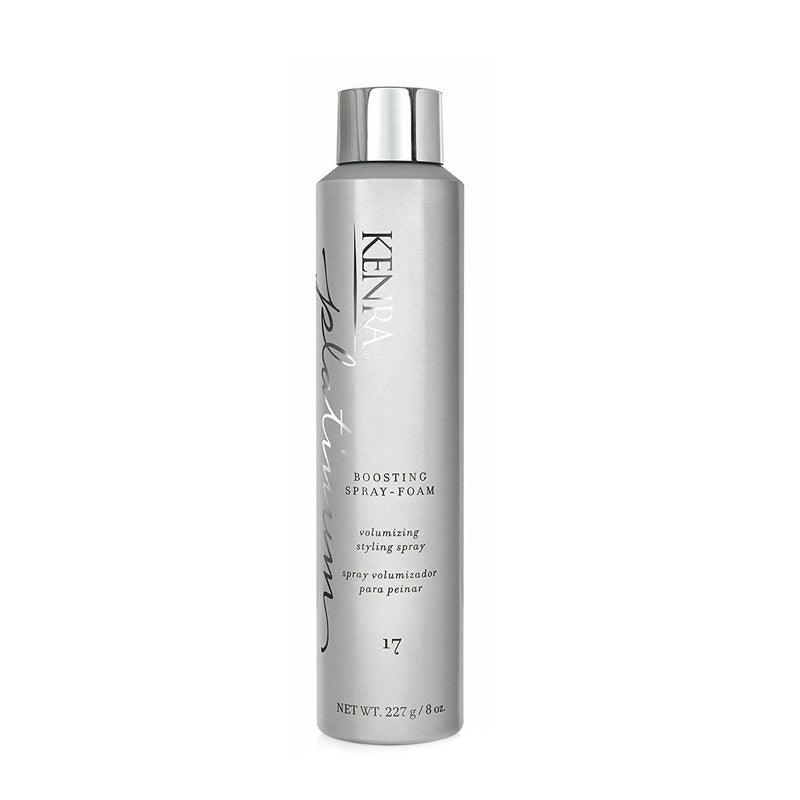
- Kenra Boosting Hairspray Foam #17 – For maximum volume at the roots, this spray will give you a nice lift and a boost of body. It’s like a cup of coffee for your hair.

Step 3: Section Your Hair for Maximum Blowout Potential 💇♀️
Listen up: if you’re not sectioning your hair, you’re doing it wrong. Dividing your hair into sections makes everything easier, and you’ll have that salon-worthy finish in no time.
How to section your hair:
- Start by parting your hair into four sections: top left, top right, bottom left, and bottom right.
- Clip each section up (don’t worry, the clips won’t leave any permanent marks—promise!).
- Pro Tip: Keep your sections small! Smaller sections mean more control and more volume.
:max_bytes(150000):strip_icc()/curlers-0922-d6e01567f5ad463693b1aee96973310b.png)
Step 4: Blow-Dry Like a Pro (Or At Least Like Someone Who Knows What They're Doing) 💨
Time to dry! Here’s where things get real, and you can totally shine (pun intended). You want to focus on drying each section fully before moving to the next.
- Start at the roots: Direct the airflow down the hair shaft to avoid frizz.
- Use the brush: Grab a round brush (trust me, this tool is your BFF), and pull your hair taut as you direct the dryer at each section. Try to add a little tension for that sleek, voluminous finish.
- Angle the dryer downward: To prevent frizz and add shine, aim the nozzle down towards the hair shaft. You’re smoothing the hair cuticle and giving it that polished finish.
Pro Tip: While drying, switch up the speed and heat settings to suit your hair type. If you have fine hair, use a lower heat setting to avoid damage. Thick hair? Crank up that heat (but don’t go full “fiery dragon”).
Product to Use:
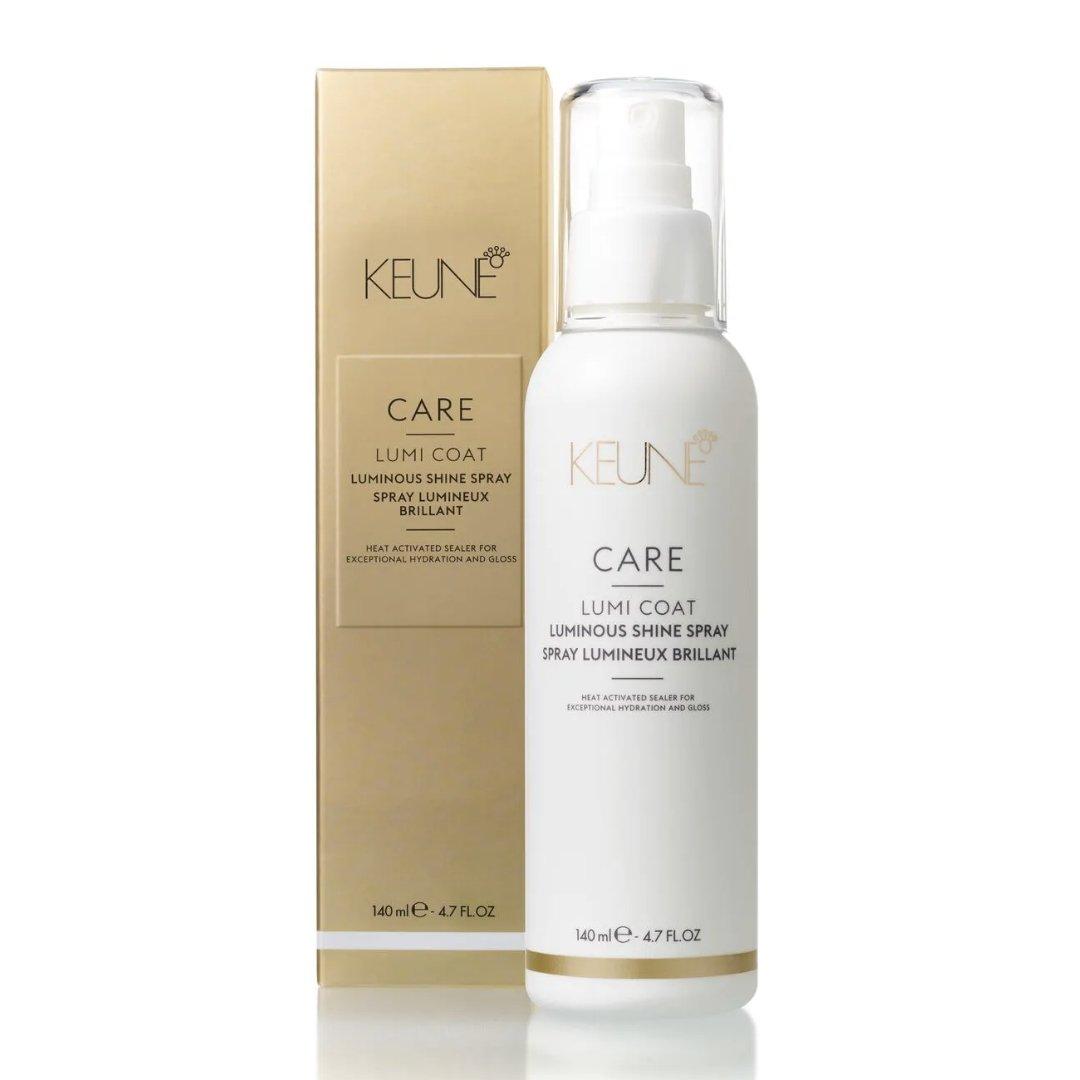
- Keune care Lumi Coat Luminous Shine Spray– This will help lock in your sleek style and add an enviable shine. It gives your blowout a glossy, polished finish without weighing your hair down.

Step 5: Add the Finishing Touches ✨
Okay, now that your blowout is complete and you’re basically looking like a walking Pinterest board, let’s lock it in.
Setting spray is key here. You’ve put in all that work, so you want to make sure it lasts!
Product to Use:
- Amika Fluxus Touchable Hairspray – This hairspray is not your average "crispy" kind. It adds volume and hold without making your hair feel like it's encased in concrete. You’ll have body and bounce all day!

Step 6: Show Off Your Gorgeous Blowout (and Possibly Your New Confidence) 💃
That’s it! You’re now the proud owner of a salon-quality blowout, and you didn’t even have to leave your house or mortgage your future. Step out with confidence, flaunt that volume, and enjoy your shiny, bouncy hair. If anyone asks where you got it done, just tell them the truth: your bathroom. 😎
Final Thoughts:
Achieving a salon-worthy blowout at home might take a little practice, but with the right tools and products, you'll be rocking perfect hair in no time. Plus, you'll be saving yourself a fortune on salon visits—more money for snacks and coffee, am I right? 🙌
Need some help getting your hair to look this good? Head over to The Warehouse Salon for the best salon-quality hair products to help you achieve your perfect blowout every time!


About the Author
Sofia Montella
Sofia is a highly skilled beauty expert at Deland Florida Location. She possesses a thorough understanding of hair products and the science behind hair and hairstyling.


Leave a comment